Safety First:
Despite what you may see in photos or descriptions of our projects - ALWAYS follow manufacturer's safety guidelines when using tools or equipment. Always wear safety glasses, gloves and full body-armor if necessary. While it may appear we don't always do so, we can not be held responsible if you do not.
Water Trough Container Gardening
There is a photo gallery to the right. Click on any thumbnail to see full image. For this project it is easy enough to match up the photos with the steps involved.
Step 1 - Drainage
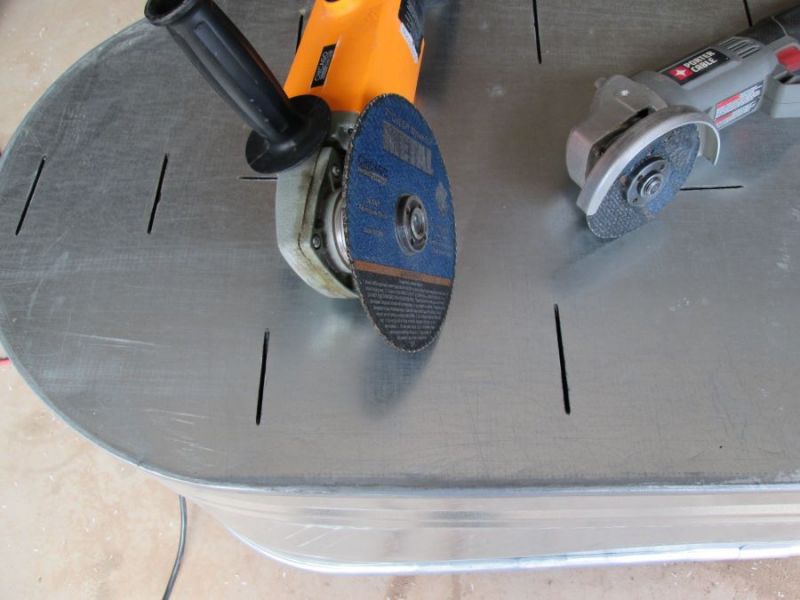
By design, water troughs are water tight - not good for gardening. So the first step is to make sure there is adequate drainage. The original instructions we found said to drill about 40 3/8" holes in the bottom in a specific pattern. We tried that on the first one and it took a long, long time.
I then tried an air chisel - not much faster and very loud. So I resorted to one of my favorite tools - a side grinder using a 4 1/2" metal cut-off blade. Fast and super efficient! Takes about 10 minutes for this step. If you don't own or don't want to buy a side grinder (there aren't very expensive) - you can use a drill.
The bottom of the trough will never be perfectly flat - so the idea is to put enough holes/slots in it so excess water can not puddle.
Step 2 - Add Mobility (Optional)
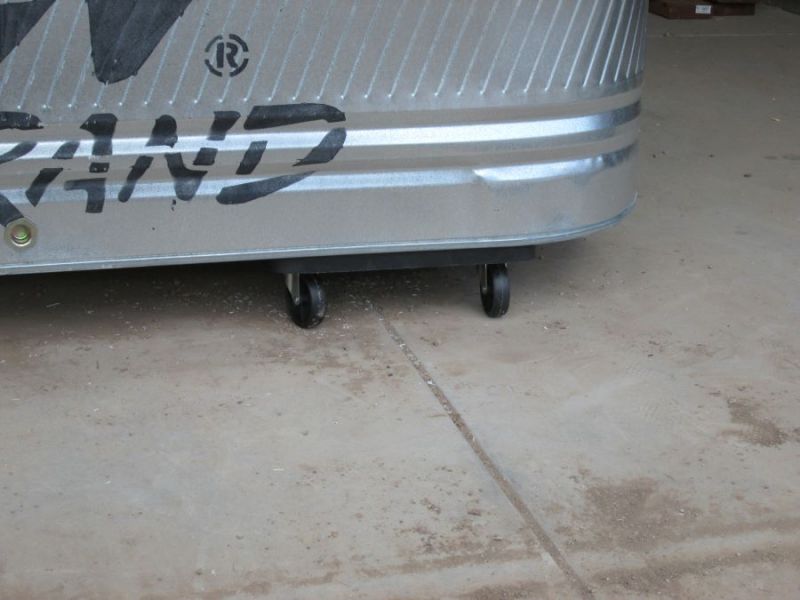
This is a totally optional step. If you don't plan to ever move the trough, you can skip this step. In our case, most of the troughs are going on the North and South decks. We wanted the ability to move them around depending on the season to adjust how much direct light they receive.
We used a couple of furniture movers (pretty inexpensive at certain tool stores). Once the drainage slots were done, we set the trough on the furniture movers, aligned them for optimal support and screwed them in place from the inside bottom using 1" self-tapping metal screws.
Step 3 - Fill 'er up - Moisture retention and slow-release compost
The standard water trough is 2' deep. There is nothing we would grow in them that requires that depth of soil - not to mention we would be talking about 24 cubic feet of good soil (our troughs our 2' x 2' x 6' but they come in smaller sizes).
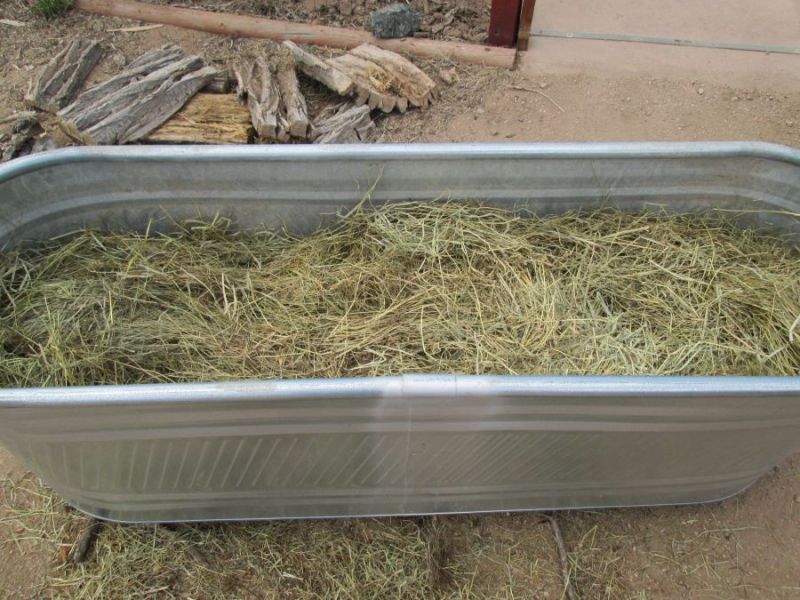
Although we don't want the soil to remain wet, retaining moisture that will wick up is helpful, and having built-in long term compost helps.
To accomplish this, we put in a good layer of old branches. They will release nutrients as they decompose and they hold moisture. Next we added a layer of old hay and/or straw for the same reasons. Then we added about 6" - 8" of good growing soil. Once plated we then put a layer of straw on top (as mulch to help hold in the moisture due to our high winds and intense sun).
When complete, that leaves the planting surface about 4" - 6" below the rim of the trough - a bit of wind protection for small plants.
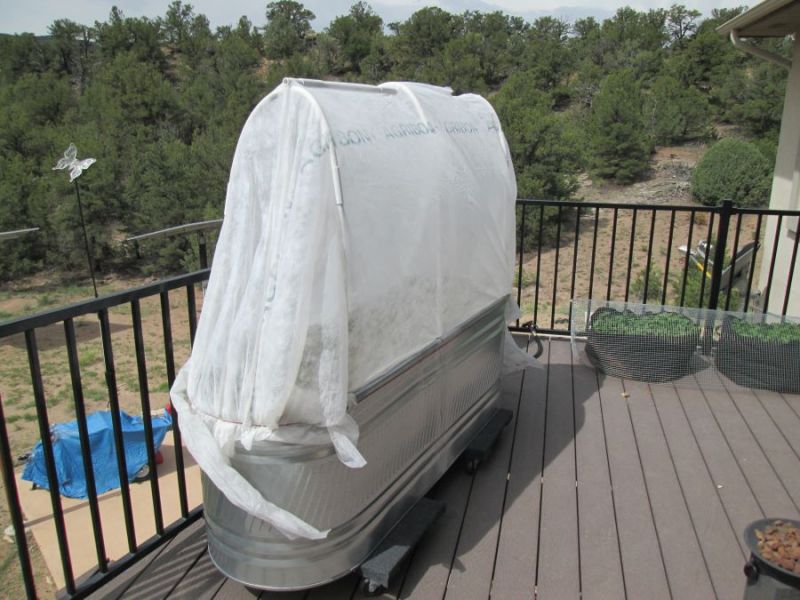
Step 4 - Hoops (Optional)
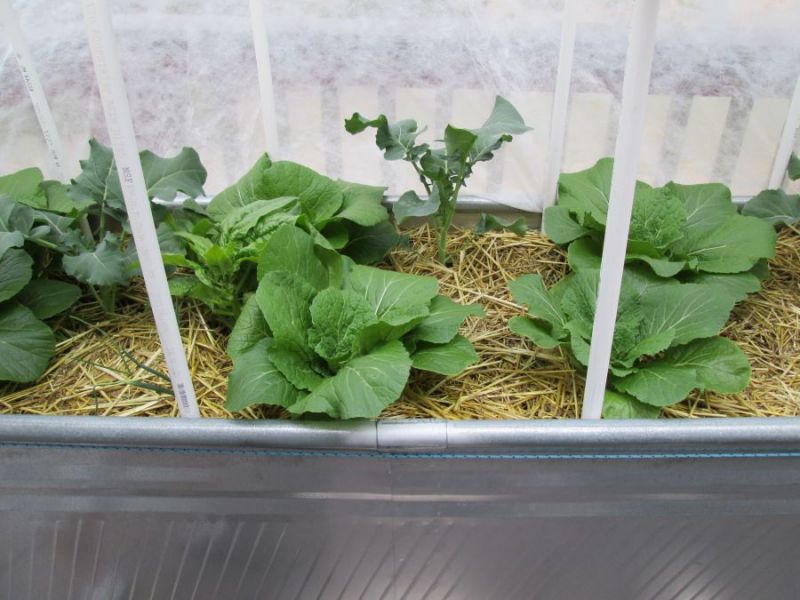
Due to our high winds and short growing season, most of our troughs are fitted with hoops. In early season, we cover them with greenhouse grade clear plastic. After last chance of frost (mid-June for us) we switch out the plastic with agricultural row cover. Pretty amazing stuff - research it if you aren't familiar with its many qualities.
The hoops in this case are simple 10' segments of standard 1/2" PVC pipe (you will need 4-5 sticks for a 6' trough). To bend them it is helpful to mark the middle and lay them out on a black trash bag (length wise) and put another black bag on top and let the sun heat up the plastic a bit. It's also helpful to have help when you are ready to bend.
With a person holding each end, you slowing walk toward each other forming a nice even (more or less) bend in the middle. You stop when the two ends are about 2' apart. It's best to immediately insert the PVC into the trough because it will want to spring back. Simply jam the ends into the soil as far down as they will go. You may need to adjust the hoops as you go because they usually hit some of the branches and won't go full depth. You make 3 or 4 bent hoops for each trough.
Once the three hoops are in place - hold the 4th stick up underneath them running from end to end to use as a brace. Flush one end and mark and cut off the excess so the brace is flush with the outside of the end hoops. You can cut PVC with pretty much any saw.
To be quick and dirty, we just use 8" tie-wraps to secure the brace to each hoop - using two tie-wraps in an "X" pattern on the end hoops. Not as secure or long-lasting as screws or bolts - but tie-wraps are cheap and easy to work with.
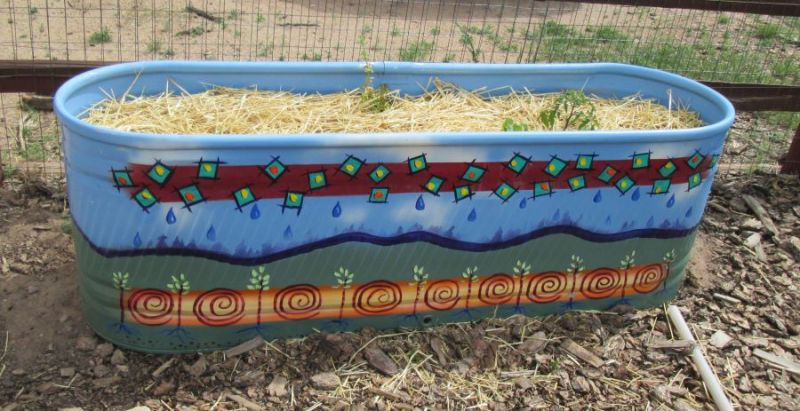
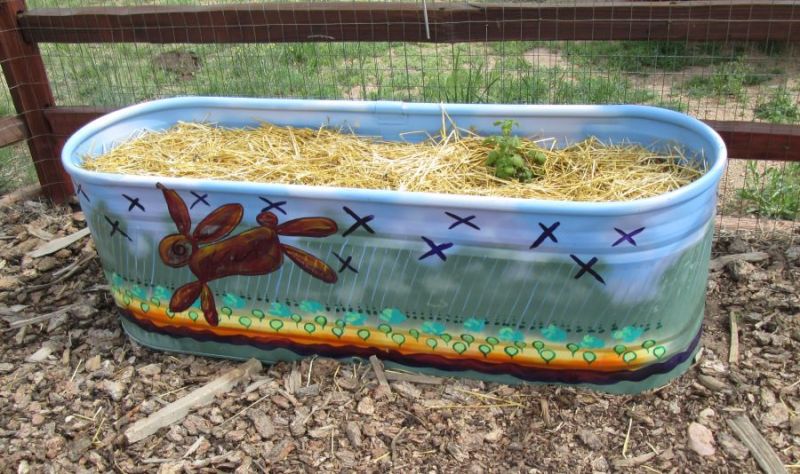
Step 5 - Plant and enjoy and Get Creative
The trough gardens don't have to be ugly. If galvanized metal isn't you thing - get creative! One of our neighbors (1/4 mile away) is an artist. She took a few cans of spray paint and outside enamels and made two of our troughs into works of art. See bottom photos on the right.